About to Cut Wood for a Project? Follow This Advice Before You Start.
- Even if you make a perfect cut, you waste that skill without proper measuring and marking. Fail at these two things and the rest of the project can be a waste of time.
- Make sure you have the right tools and learn how to properly mark to get the most out of your woodworking projects.
- Like any woodworking skill, the best way to get good at marking is to practice. So, grab your square and your mechanical pencil and have at it.
Even if you can make a perfect cut, you waste that skill without proper measuring and marking. Fail at these two things and the rest of the project is might as well fail, too.Here’s how to avoid those mistakes.
Rule #1: Get into Scale
Your tools should match your project’s scale. Meaning: A 4″ square won’t work when marking a 12″ board.
Rule #2: Quality Yields Quality
Quality instruments give quality results. An “almost-square” combination square, school ruler, and flat carpenter pencil are OK to mark for fun, little projects. Nothing more.That leads to:
The Right Tools
Here are my go-to tools for measuring and marking:
12″ Metal Ruler
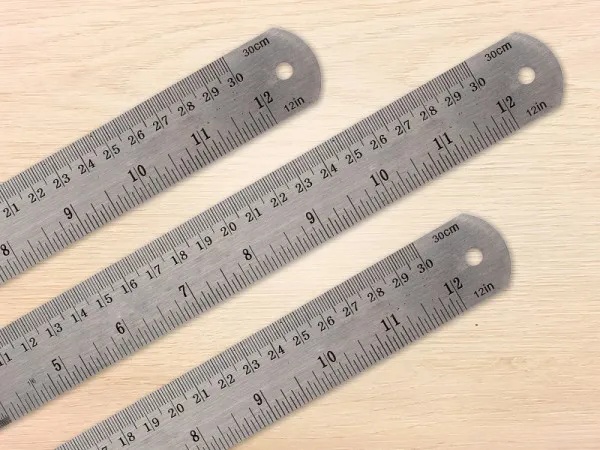
My most used measuring mechanism. Mine is accurately marked, extremely tough and will probably last longer than I do. I keep a mini version (6”) in my apron. That one is specifically for joinery and setting up machines (I.E. the bit height on a router table).
Combination Square
As I said in a previous article, this should be part of your first set of tools. It is used to make 90-degree lines so you can mark boards for cross-cutting. It can be adjusted to size for the board width. It can also be used to make 45-degree marks.
Engineer’s Square
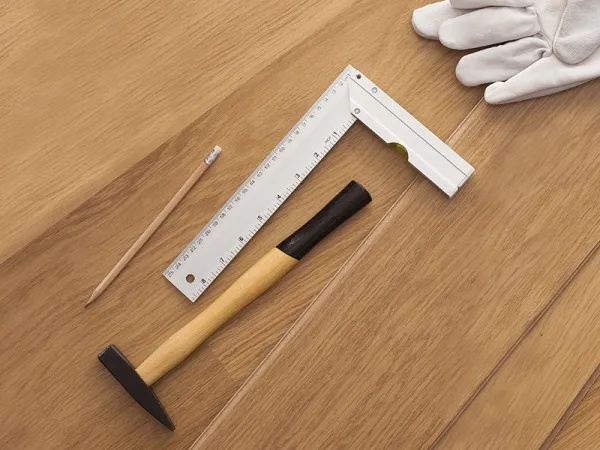
Similar to a combination square, except it isn’t adjustable. Most also aren’t marked. The advantage over a combination square is it doesn’t have moving parts, so it is perfectly square and stays that way. At least it does if it’s a good one. It’s used when you need a to strike a line that is exactly 90-degrees from a flat surface (like the edge of a board). It can also be used to set up machines (adjust a table saw or miter saw blade to square).
Tape Measure
The typical tape measure you buy at the big home improvement stores has a curve or cup in the metal tape. That’s to keep it straight when extended. Unless you are building a sailboat, you are better off with a flat tape measure. 12 or 16-foot tape is plenty long enough. I like the ones that have the measurements on the tape (1/16, 1/8t, etc.) as well as the standard tick marks.
Pencil
Not the flat orange carpenter style. Precision marking requires precision marking devices. Fat lines equal poor cuts. I use an old school #2 pencil, sharpened to a razor point. I also sharpen it often. If it is a really precise cut, I use a .07 mechanical pencil.
Now that you have the tools, let’s take a look at some of the more common methods of marking used in a typical woodworker shop.
The Right Way to Use Those Tools
Marking
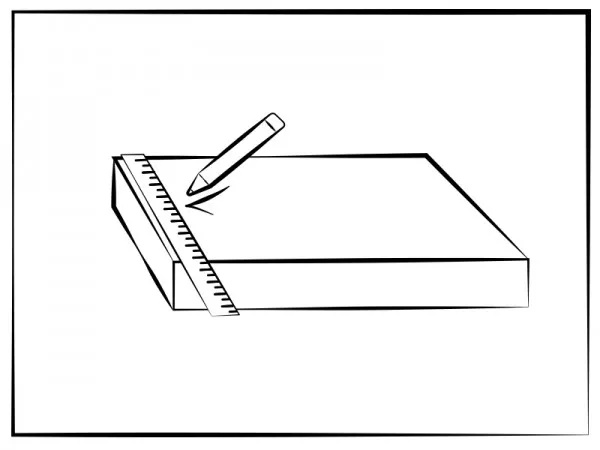
You want to cut a board to a specific length. In order to get a nice 90-degree cut you use one of your squares, but first, you need to mark where you place the square. Run your tape along the board and mark the spot the square is to be placed. I was taught to use a “V”, where the base of the V marks the spot. You could use a line, but if you have sloppy handwriting like I do, you won’t have a straight line. The problem with that is which part of the line is the correct mark? With a V, you know the base is exactly where to place the square.
Making a “Reference Surface”
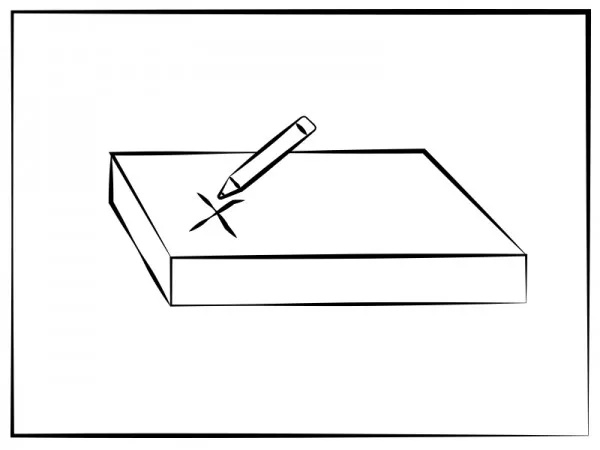
What this means is that when marking a piece of lumber, make sure you use the same surface side as “reference” for your marking tool. Let’s say you want to do a simple dowel joint to attach legs to a table apron. We want the dowel to be ½” inset from the apron edge. You need to place the “anvil” (that’s the part that slides up and down) of the combo square on the same side of the apron for each mark. You can’t place the anvil on the outside surface to mark one leg and place it on the inside surface to mark another. In complex situations, I’ll use a pencil to mark an “x” on the reference surface, so I know I use the right one each time.
“Gang Marking”
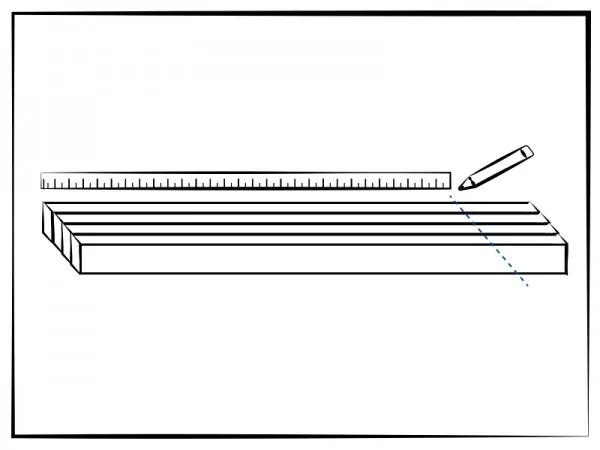
Let’s say you are making a chair which means you need four legs of the same length. You could individually mark each piece one at a time and then cut them. Besides wasting time, you risk different sized legs due to marking errors. Even small differences can be a hassle at assembly time. Another method, that not only saves time but is also more accurate is to mark multiple work-pieces at once.
To do this, simply stack all the legs side-by-side, making sure all the ends are aligned. Then use your square and mark the cutting lines across all four legs at once. Presto! Four legs of equal length.
Like any woodworking skill, the best way to get good at marking is to practice. So, grab your square and your mechanical pencil and have at it.
Is there a topic in woodworking that you’d like to know more about? Just leave a comment or reach out to us on social media!
Related Posts
5 Project Plans with Accuride Slides
June 6th, 2023
Has Your Drawer Slide Lost Its Smooth Movement?
June 5th, 2023
